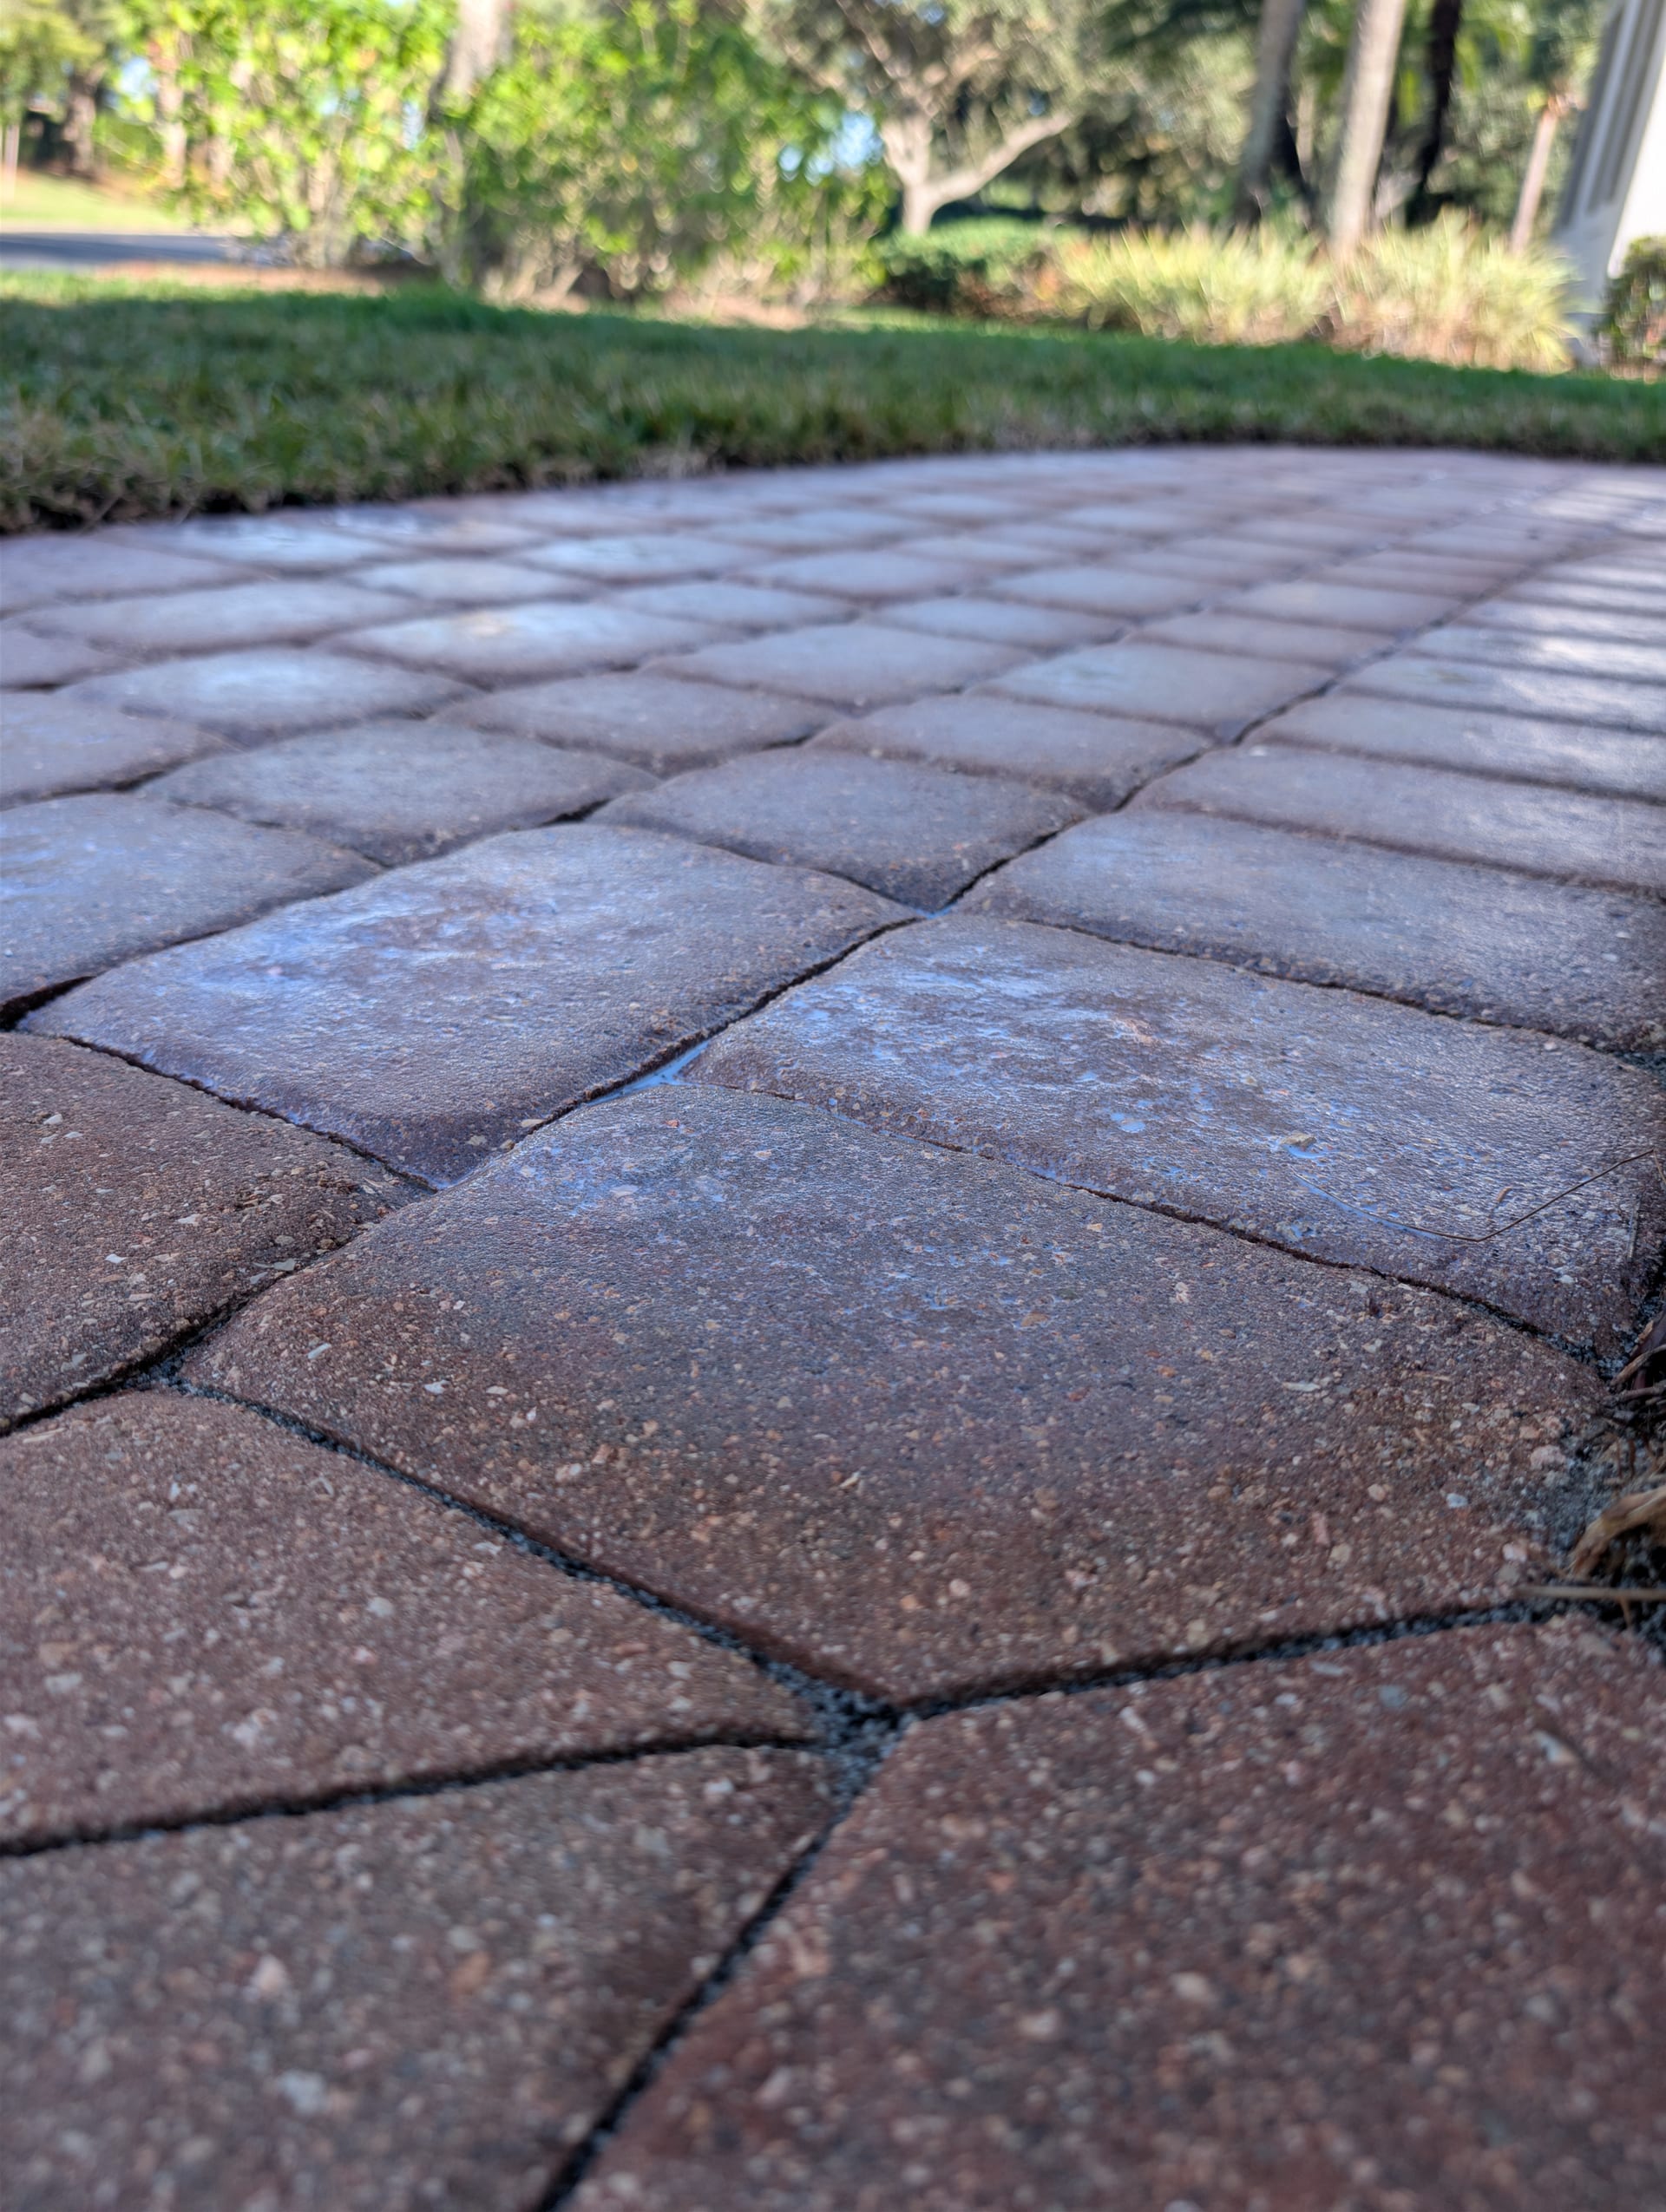
A paver driveway, lanai, or pool deck is one of the largest hardscape investments on a Southwest Florida home. It also lives outside, getting hammered every day by UV, daily afternoon storms, irrigation overspray, foot traffic, and vehicle loads. Sealing is the single highest-leverage thing you can do to keep that investment looking and behaving like the day it was installed.
Plenty of homeowners skip it entirely. Some don't know it's needed. Others assume it's cosmetic. In reality, unsealed pavers in this climate start losing color, sand, and structural stability from day one — and by year four or five most of them look it.
Why SWFL Pavers Need Sealing in the First Place
Florida is uniquely hard on pavers, and a sealer is built to fight back on every front:
- UV. Direct subtropical sun bleaches the pigments out of concrete and clay pavers within a few years. A good sealer with built-in UV protection slows that fade dramatically.
- Rain and irrigation. Daily summer storms and overspray from sprinklers wash joint sand out of the gaps between pavers. As sand erodes, joints open up, water gets under the pavers, and the base shifts.
- Weeds and ant tunnels. Open joints are an invitation. Sealed-in joint sand acts almost like a soft mortar — weeds and ants struggle to get a foothold.
- Stains. Concrete pavers are porous. Oil drips, rust spots from fertilizer, tannins from wet leaves, sunscreen, pool chemicals — all of it soaks straight in on bare pavers and becomes permanent.
What Sealing Actually Does
A proper sealer doesn't just sit on top — the right product penetrates the surface and locks down the joint sand at the same time. Once it cures, you get five things at once:
- Color enhancement. Pavers look richer and more saturated, like the wet-look you see right after a rain. Choose a natural matte or a glossier finish depending on the look you want.
- Joint-sand stabilization. The liquid binder soaks into the sand and hardens it from the top down so it stops washing out.
- Weed prevention. Hardened, sealed joints give weeds nowhere to root.
- Water and stain resistance. Spills bead up and give you time to wipe them off instead of staining instantly.
- UV protection. The sealer slows down pigment fade so the pavers hold their color for years instead of months.
One quality job lasts about 3–5 years in our climate. Skip it and you're often looking at full replacement five to seven years out — at many multiples of the cost of maintenance.
The Premier Process: How We Actually Do It
Once we've documented the job and the homeowner has chosen a sealer finish and a sand color, every paver project follows the same five steps. None of them are skippable.
1. Extreme cleaning
Every joint, every chamfer, every crack — fully cleaned of dirt, organics, mildew, and stains. That includes pulling out rust spots from fertilizer or sprinkler heads. If the surface isn't 100% clean, anything we lock under the sealer is going to come back as a problem in six months.
2. Resand the joints
We refill every joint with the homeowner's chosen color of ASTM‑C144 joint sand. Most of this is done wet using a method called hydropacting (sometimes called wet-sanding) so the sand packs in tight and evenly. The next day, when everything is dry, we touch up any low joints with a brush and clear the surface with a leaf blower. The industry standard is to leave sand sitting about 1/8" below the chamfer line on each paver — more on why that matters below.
3. Pre-seal walkthrough
Before any sealer comes out, we walk the job with you. This is the moment to look at the color of the sand, the cleanliness of the surface, the look of the pavers, and the overall result. If something doesn't look right, this is when we fix it. Sealer is permanent — what you see now is what you'll see for the next 3 to 5 years. We'll also ask you to turn off any irrigation in the area so an overnight cycle doesn't ruin the application.
4. Mask everything that shouldn't get sealer
Skimmer basket lids, baby-gate pole sleeves, spa controls, drain covers, weep holes, decorative metal — anything we don't want shiny or coated gets covered. This is unglamorous and slow and it makes the difference between a clean professional finish and one with sealer overspray on a $2,000 spa control panel.
5. Sealing
Minimum two coats of your chosen sealer (natural or glossy). Pavers that have never been sealed before generally need three coats to fully lock down the new sand and saturate the porous surface enough to repel water consistently.
Curing window: 3 hours of no foot traffic, and 3 days of no driving on it. Plan accordingly — especially on driveways where the daily-driver has to live in the street for a few nights.
The Sand: ASTM‑C144 (and Why Not Poly)
We use ASTM‑C144 grade joint sand with six color options to match almost any paver: White, Black, Tan, Fieldstone, Platinum, and Gray.
C144 isn't a marketing term — it's a spec. The sand is washed and graded to be free of organic content, which matters more than it sounds. Cheap "play sand" or generic mason's sand has organics in it that hold moisture. Six months after sealing, that trapped moisture is what causes the foggy white spots people complain about. C144 is clean, so the liquid joint stabilizer in the sealer can soak deep into the joint and harden the sand from the top down without trapping anything underneath.
Why we don't use polymeric sand
Polymeric sand is notorious for project failure. Any moisture activates the polymer — and we mean any. A drop of sweat, a stray sprinkler, the dew that rolls in overnight. Once it kicks off, it hardens like cement. If you seal over it, you've effectively turned the surface into sandpaper. If you try to water it in to harden it on purpose, the moisture has nowhere to escape once the sealer goes on top — so it fogs and hazes underneath. And if a surprise shower rolls through during the job? You've just bought yourself a week of crawling around on your knees scraping hardened polymer off every paver face. We've seen the failures. We don't use it.
Why the 1/8" rule matters
Joint sand should sit about 1/8" below the chamfer (the beveled edge) of each paver. Fill the joint flush with the surface and the sealer forms a thin "crust" across the top of the sand. That crust has nothing supporting it from underneath, so foot traffic pops it loose and it flakes off in chips within months. Slightly recessed sand gives the sealer something stable to grip on the inside of each joint, and the surface holds together for years.
The Sealer: URE Seal H2O (and CAT5 for Wet-Look)
Our default product on almost every job is URE Seal H2O. We've tried a lot of sealers over the years, and this one consistently wins on longevity, color enhancement, joint-sand binding, and how it weathers SWFL UV.
- New pavers, or older porous pavers that have never been sealed: 3 coats.
- Pavers in the 2–5 year old range with reasonable surface integrity: 2 coats.
- Lifespan: 3–5 years before a maintenance reseal is needed.
- Options: natural or glossy finish, anti-slip additive, weed prevention, joint-sand stabilization, color tinting, and slowed UV fade.
If a customer is specifically chasing a deep, glassy, soaking-wet look — typical on showpiece pool decks — we step up to Trident CAT5. It's a more expensive material, but it's noticeably superior in glossiness and UV protection. Worth it when the look is the whole point.
Why not Home Depot sealer?
Every brand of paver sealer is a little different. Some are pump-spray, some are two-part mixes, some are solvent-based and have to be roller-applied. In Florida specifically, you want a UV-protective, water-based product — and once you filter for that, you're looking at a small handful of professional sealers, most of which aren't sold at big-box stores. Of those, only a couple really hold up over multiple Florida summers. URE Seal H2O and CAT5 are the two we trust. The off-the-shelf stuff at Home Depot is significantly thinner, breaks down faster, and would need many more coats to come anywhere close to the same effect — usually for a job that still ends up flaking inside two years.
Why Prep Is the Actual Job
Mixing and spraying the sealer is the easy part. Anyone with two hands and a sprayer can do that part. The hard part — and the part that decides whether the job lasts five years or five months — is everything that happens before the sealer leaves the can.
The fastest ways a paver seal job fails:
- Sealing on top of a previous solvent-based sealer without stripping it. Failure measured in days.
- Sealing over efflorescence (the white chalky mineral haze pavers can develop). Failure measured in weeks.
- Sealing over even one missed weed root. Trapped moisture, lifted spot, then a spreading failure outward from there.
- Sealing pavers that aren't fully dry. Cloudy, milky finish almost immediately.
- Sand at the wrong level. Crusty, flaking joints inside the first year.
Every step of our process is, fundamentally, prep for one moment: the moment the sealer locks the surface in for the next several years. If something looks off before sealer goes down — color, sand level, a stained spot, a weed we missed — we fix it then. There is no fixing it later without stripping the whole job and starting over.
This is also the part most homeowners and most generalist pressure washing crews underestimate. Prep is more intensive than just pressure washing. It's slower, it's more meticulous, and it's where the actual craft of paver sealing lives.
The honest summary: a great sealer applied poorly will fail. A mid-tier sealer applied with proper prep will outperform it every time. The product matters — but the prep is the job.
Stripping: When It's Required, When It Isn't
If your pavers have been sealed before, the next sealer doesn't always go straight on top. Sometimes it does, sometimes it shouldn't. Here's how we read it:
- By the book, URE Seal H2O calls for stripping the existing sealer first — unless the existing sealer is also URE Seal that hasn't failed. In that case, fresh URE Seal bonds cleanly to the old layer.
- If the previous sealer was solvent-based: stripping is non-negotiable. Water-based sealer simply will not bond to a solvent-based film, and any attempt to skip this step ends in peeling within days.
- If the previous sealer is intact and behaving well, stripping isn't always advised. We'll evaluate it in person and tell you straight.
Why stripping is expensive
Stripping is messy, time-consuming, and labor-intensive. The chemical stripper itself runs hundreds of dollars per bucket, and a single job often takes several. We have to prep the surrounding landscape — every plant, every bed of mulch, every nearby surface — because the process throws millions of tiny plastic-like flakes of old sealer everywhere as it lifts. It adds significant cost to the job, but it's the only way to get a real bond on a previously-sealed surface that doesn't qualify for a recoat. Skipping it to save money guarantees the new job fails.
Tinting: Bringing Faded Pavers Back
Tinting is a game-changer for older or sun-bleached pavers, and it's especially powerful on pavers that have never been sealed. Instead of looking at a washed-out tan driveway and pricing out a tear-out and replacement, you can tint and seal the existing pavers and end up with something that looks brand new — at a fraction of the cost.
The tint is built into the sealer system, so it cures in as a permanent part of the finish. We can match the original color, deepen it, or shift it to a different look entirely. Border-row tinting is also available as an upgrade for two-tone designs that pop.
Curing: Plan a Few Days Around the Job
After the final coat of sealer goes on:
- 3 hours minimum before any foot traffic. No walking the dog across it. No running across it for the mail.
- 3 days before driving on it. This one matters most on driveways — plan to park in the street, on the grass, or off-property until the surface fully cures.
Light dew or humidity overnight is fine once the surface has set. Heavy irrigation or rain in the first few hours is not — which is why our crew confirms with you about sprinkler timers before the first coat ever leaves the sprayer.
Thinking About Doing It Yourself?
If you're handy and patient, paver sealing is technically something a homeowner can take on. The catch is that almost every DIY failure we get called out to repair traces back to one of the prep steps above — usually wrong sand, sand at the wrong level, sealing over moisture, or buying a thin big-box sealer to save money up front. If you want the playbook anyway, we wrote one: read our DIY paver sealing guide →. It's the honest version. Most people who read it end up calling us anyway, and that's fine — at least you'll know exactly what you're paying for.
If you'd rather have it done right the first time, that's what we do. See our paver sealing service for Fort Myers and Lee County → or request a free quote → and we'll come walk the job with you.