On YouTube, paver sealing looks like a Saturday project: rinse, sweep some sand, spray sealer, done. In Fort Myers humidity the failure rate is brutal — hazing, white spots, flaking crust, peeling within months. This is the actual pro process, end to end: what we do, why we do it that way, what materials matter, and the specific places DIY jobs go sideways. Read it and decide for yourself.
What you're actually trying to do
The goal of a paver seal isn't a pretty afternoon — it's five years of frozen-in-time hardscape. Color locked. Joints locked. Weeds out. Algae starved. Whatever the surface looks like the moment the sealer dries is what it's going to look like for years. That cuts both ways: a clean, dialed-in surface stays that way for a long time, and a job with a missed weed, a streak of efflorescence, or a damp joint stays that way for a long time too.
Once you understand that, the rest of this article makes sense. Every step below exists to make sure that frozen snapshot is one you actually want to live with. If you'd like the bigger picture on why sealing matters in the first place — UV, joint stability, color life — read why seal your pavers first, then come back here for the how.
Whatever the surface looks like the moment the sealer dries is what it looks like for years. Fix everything you don't like before the sealer goes down — after is too late.
The pro process, step by step
After we walk the job, document the existing condition, and lock in the customer's tint and sealer choice, the actual work runs in five steps. None of them are optional. Skip one and the whole thing fights you later.
1. Extreme cleaning
This isn't a quick rinse with the garden hose or even a casual pass with a pressure washer. Every joint, every chamfer edge, every crack and crevasse comes fully clean — debris, organic film, embedded mildew, oil halos, even rust spots from old patio furniture or fertilizer pellets. Anything left on the surface gets sealed in permanently. We use surface cleaners with enough flow to actually rinse joints out instead of just driving the dirt sideways, and we treat stains chemically before any pressure touches them. If a homeowner is using a Lowe's electric washer, they're almost never moving enough water to clear the joints down to clean sand. That alone derails most DIY jobs before sealer is even bought.
2. Resand the joints (hydropacting)
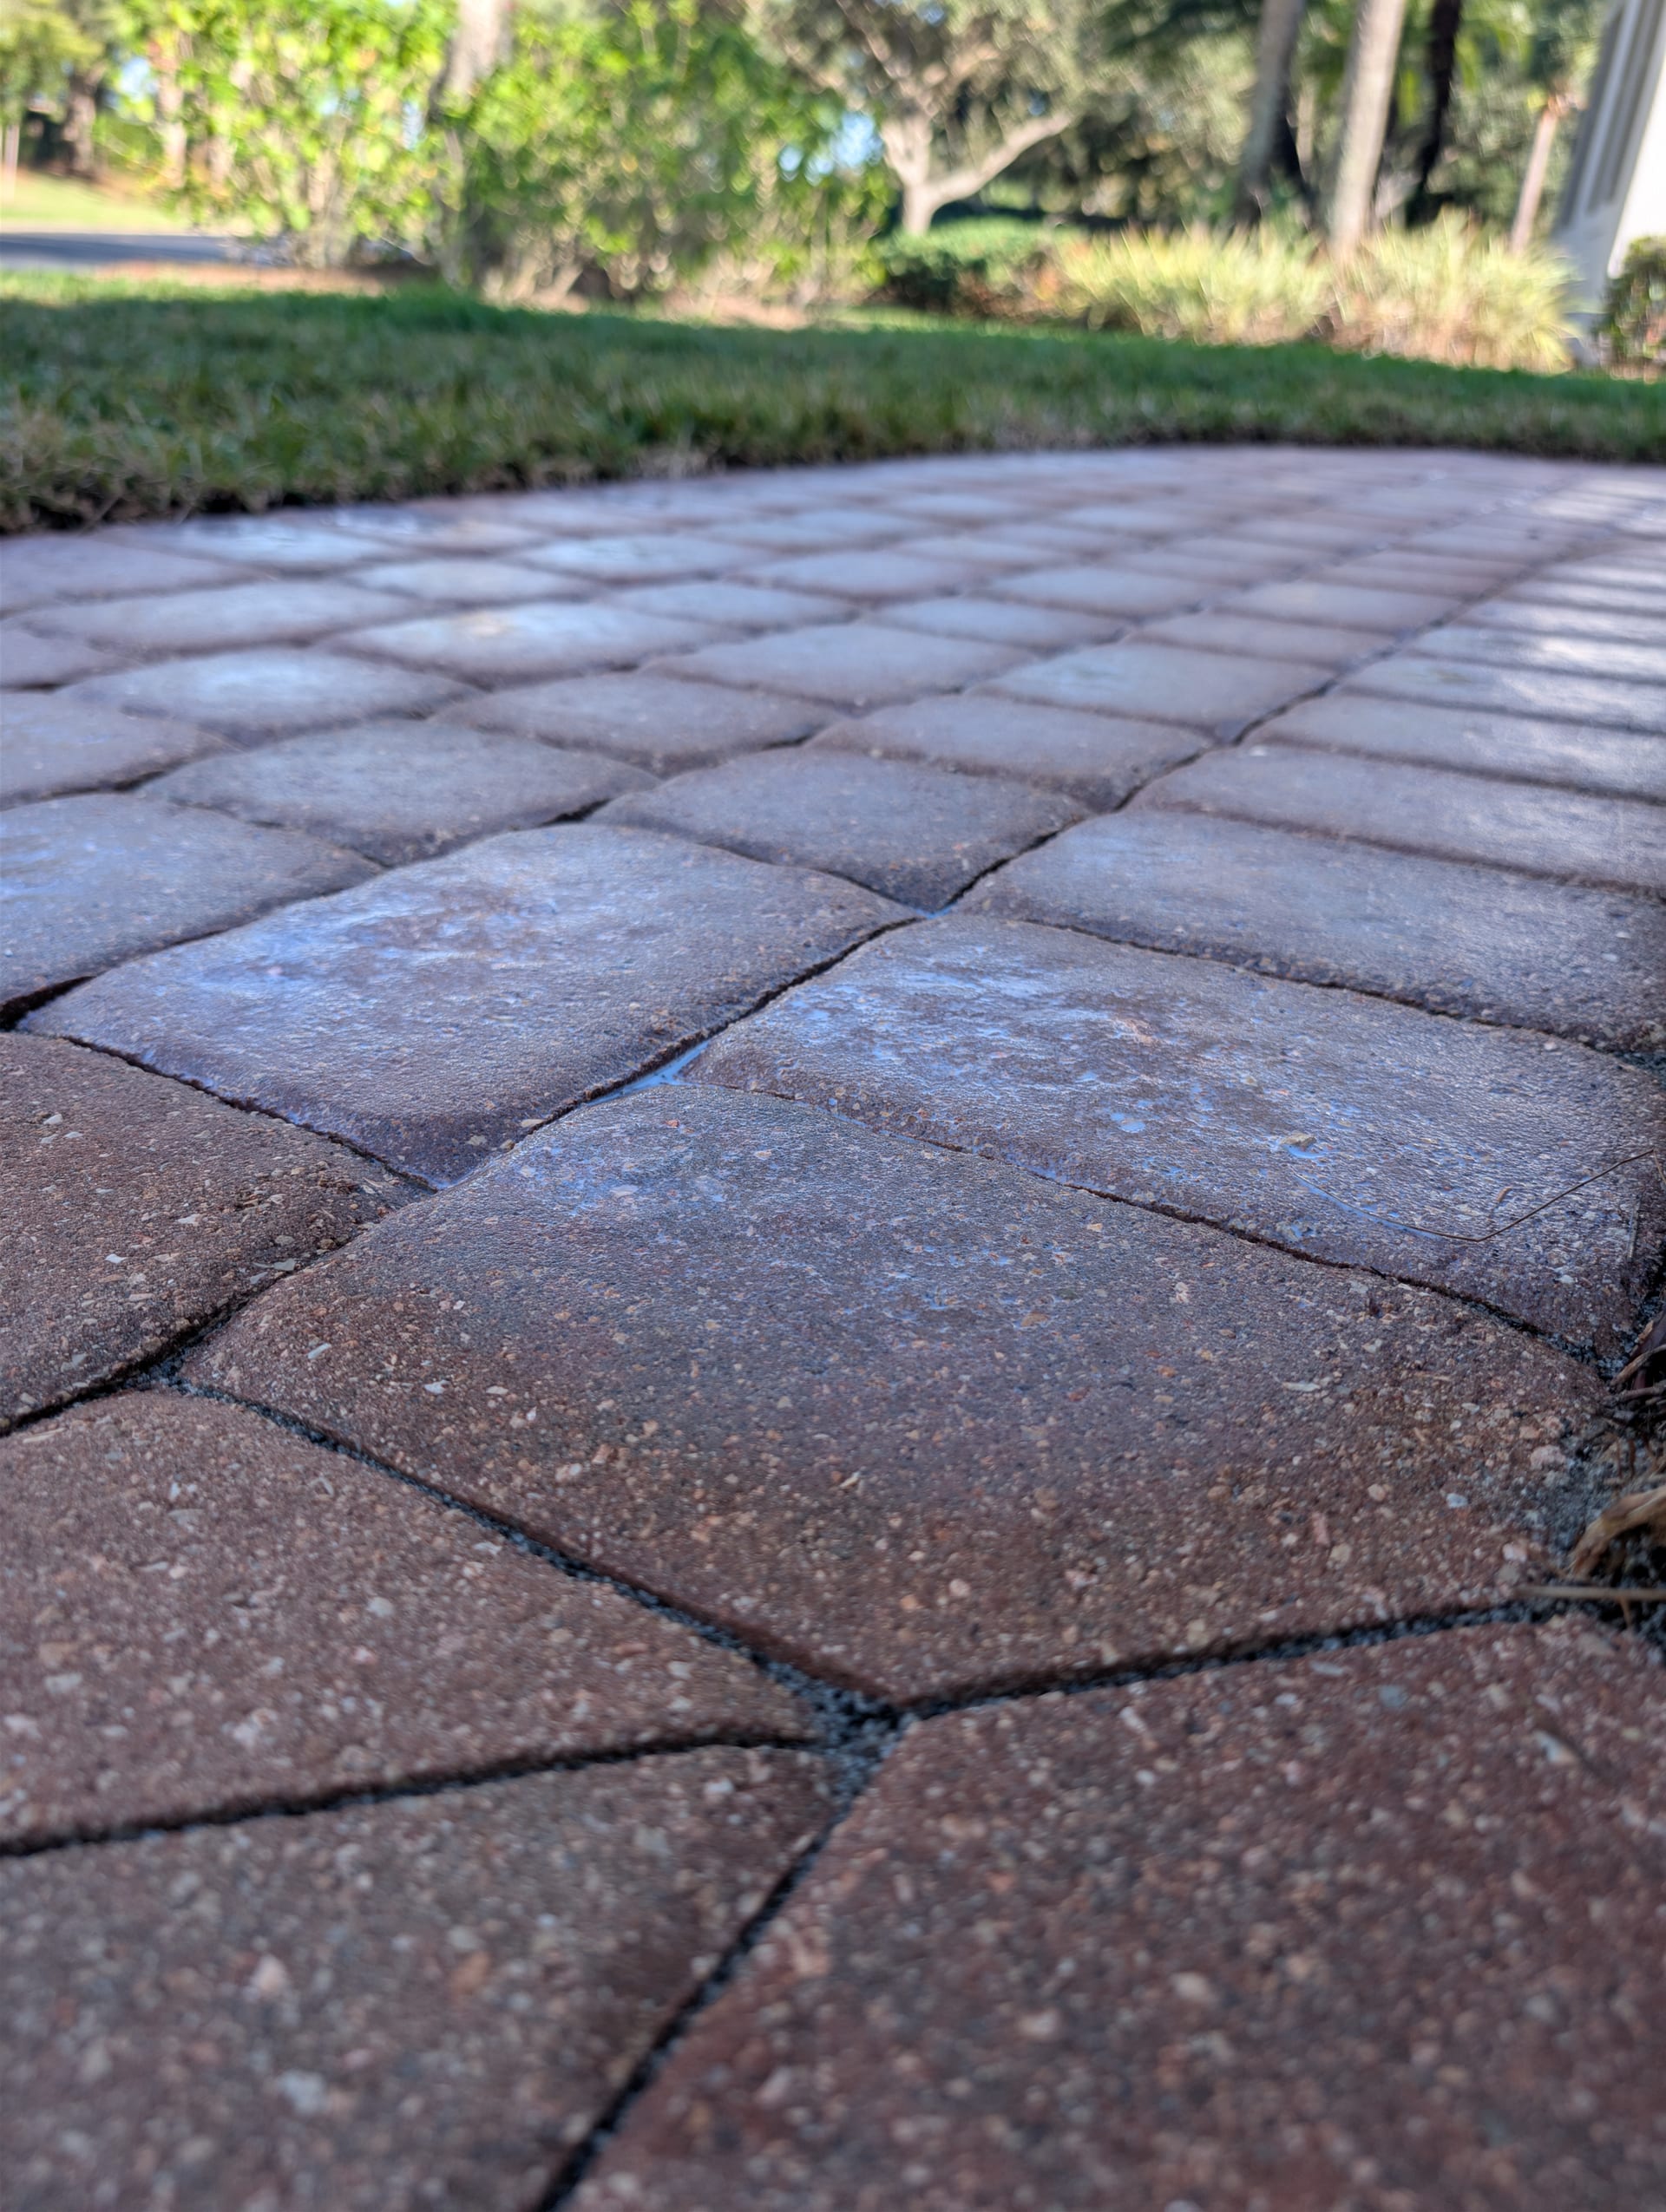
With clean joints, we refill them with the chosen color of ASTM C144 joint sand. Most of this is done wet — a technique called hydropacting or wet sanding — which packs the sand tightly into the joint so it doesn't slump or wash out the first time it rains. The next day, once everything's dry, we come back through with a soft brush and a leaf blower for touch-ups, knocking residual grains off the paver faces and topping off any joints that settled overnight.
The number to remember is one-eighth of an inch below the chamfer line. That's the industry standard, and it's the difference between sand that locks in cleanly and sand that turns into a brittle crust.
3. Pre-seal walkthrough
Before any sealer comes out, we walk the job with the homeowner one more time. The surface looks essentially the way it will after sealing — minus the sheen — and this is the moment to flag anything they don't like. A joint color they want different. A stain they thought would lift further. A border line that doesn't sit right. Once sealer goes down, fixing any of that means stripping. We also ask the customer to kill their irrigation for the next several days. A sprinkler head that misted across a curing patio is a service call we'd rather not make.
4. Mask everything that shouldn't get sealer
Skimmer basket lids. The little holes where pool baby-gate poles drop in. Spa control buttons. Drain covers. Light fixture bases. Adjacent stucco, columns, garage door panels, vehicle wheels if anyone parked too close. Sealer is much, much easier to keep off something than to get back off. This step is slow and tedious and absolutely worth it.
5. Apply the sealer
Two coats minimum, whether the customer chose a natural look or a glossy finish. Pavers that have never been sealed before are porous enough to drink the first coat right in, so they typically take three. We apply with consistent pace and overlap, working away from finished sections so we're never walking through wet product. No puddles at edges, no thick patches near columns, no rushed corners — slow is fast on the sealing pass.
Why joint sand quality decides the job
We use ASTM C144-grade joint sand, available in six colors — White, Black, Tan, Fieldstone, Platinum, and Gray — so the joints can frame the paver color instead of fighting it. C144 matters because the liquid joint stabilizer in the sealer penetrates from the top down and hardens the sand into something closer to soft mortar. C144 is washed and screened to be free of organics, so six months later there's no buried organic matter quietly going moldy under the finish and pushing white moisture spots up through your sealer.
Why polymeric sand is a trap
Big-box stores sell polymeric sand as the obvious choice. It's the single most common reason a DIY job ends in a strip-and-redo. Polymeric activates with water and sets up like cement — and any moisture sets it off. A drop of sweat. Morning dew you didn't see. A neighbor's irrigation overspray. Once it sets early, it's hard like concrete and feels like coarse sandpaper under the sealer. Watering it intentionally to set it traps moisture inside the joint, and when that moisture finally evaporates with nowhere to go, it hazes the sealer above it from below. Get an unexpected Florida shower mid-job and you're looking at a week on your knees scraping cement out of joints with a screwdriver.
Why too much sand is just as bad
Filling joints flush with the paver top feels intuitive — neat, level, finished. It's also a mistake. When sealer hits sand that's flush with the surface, it forms a thin crust across the top of the joint. Foot traffic, a dog's nails, a chair leg drag — the crust pops loose in flakes and now the joint looks chipped. The 1/8" below the chamfer rule exists because that recess gives the sealer somewhere to anchor into the joint instead of sitting on top of it.
Sealer choice: brand and chemistry aren't details
We use URE Seal H2O on almost every job. It's a water-based, UV-protective sealer built for the kind of climate we actually have in Southwest Florida, and it's earned its slot by being the most consistent product we've found for longevity, color enhancement, and joint stabilization. It carries weed prevention, slows color fade, gives anti-slip and tint options, and is available in either a natural matte or a glossy finish. New or never-sealed pavers take three coats; pavers in the two-to-five-year range take two. Properly applied, you're looking at three to five years before a refresh.
For customers who want a serious wet look, we offer a Trident CAT5 upgrade. The material costs more, but the glossiness and UV protection are noticeably better than anything else on the market.
Why the Home Depot bucket fails
Every sealer brand is a different animal. Some are pump-sprayed water-based, some are two-part systems, some are solvent-based and have to be rolled. Florida specifically needs UV-protective water-based sealers — that narrows the field to a handful of brands, and within that handful only a couple actually hold up long-term. Big-box sealers tend to be thin: they go on easy, but they flake, break down under UV, and need many more coats to get even close to the same depth of finish. By the time you've bought enough cheap product to fake a real result, you've spent the same money and gotten a year of life instead of five.
URE Seal H2O has a specific mix ratio and a real mixing time. Too thick, too thin, or under-mixed and you've ruined the batch — and the bucket isn't cheap. The label is the short version; the technical data sheet is the real instruction manual.
Prep is where jobs are won or lost
The sealing step is the easy part. Mixing and spraying anyone can learn in an afternoon. The hard part — the part nobody sees in the YouTube video — is cleaning every joint, chasing down every stain, and dialing the sand level joint by joint until the whole field is consistent. Prep takes longer than pressure washing alone, and it's the difference between a sealer that locks in five years of beautiful and a sealer that fails in weeks.
The common DIY failure modes all live in this category:
- Sealing on top of an old solvent-based sealer. Water-based product applied over residual solvent sealer can fail in days. Adhesion is gone before the first car drives across.
- Sealing over efflorescence. Those white mineral salts on the surface aren't cosmetic — they're moisture moving through the paver. Trap them under sealer and you'll see hazing and failure within weeks.
- Sealing over a missed weed or root mat. Even a small living root holds moisture. Sealed in, that moisture has nowhere to go and lifts the sealer from below.
- Sealing damp joint sand. Joints that haven't fully dried turn into the same milky-haze problem polymeric causes — only this time you did it to yourself.
The rule we live by: if you don't like how it looks before the sealer goes down, fix it before the sealer goes down. After is too late.
Stripping: a separate skillset entirely
Sometimes a paver area can't just be re-sealed — it has to be stripped first. By the book, URE Seal calls for stripping any time you're not sealing on top of existing URE Seal. In practice, if a previous coat hasn't visibly failed and we know what's under it, we can sometimes skip it. But there's one situation where stripping is non-negotiable: if the previous sealer was solvent-based, it has to come off completely before a water-based sealer touches the surface. No exceptions.
Stripping is its own job. It's messy, it's time-consuming, and it's labor-intensive — the chemistry to actually break down a cured sealer doesn't come cheap, and a single bucket of stripper runs roughly four hundred dollars. Beyond the material, the process itself is brutal: as the old sealer breaks down, it sloughs off in millions of tiny plastic-like flakes that go absolutely everywhere. Landscape prep, plant protection, and containment have to be planned out before any chemical hits the ground. Stripping adds significant cost and time to a project — there's no honest way around that — but it's the only way to start clean when the existing finish has gone south.
Tinting: optional, mostly for faded pavers
Tinting is exactly what it sounds like — color added into the sealer itself. It's the right call for pavers that have lost their original color from years of UV, especially older pavers that have never been sealed. Instead of replacing the hardscape, you tint it back to the color it should be and lock that color in with the seal. The savings versus a full paver replacement are substantial.
Border tinting — a different shade for the perimeter band — is also available as an upgrade for homeowners who want the layout to read more like the day it was installed.
The curing window most people blow
Once the final coat is down, the rules are simple and not negotiable:
- Three hours minimum, no foot traffic. Walk on it early and you'll leave footprints permanently embossed in the finish.
- Three full days, no vehicle traffic. Tires are the worst case — heat, weight, and a twisting motion in driveways. Drive on it too soon and you'll lift the sealer in tire-shaped patches.
- Irrigation off for the duration. A misting sprinkler head during the cure is the fastest way to introduce hazing into a fresh seal.
DIY vs. pro: an honest comparison
None of this is meant to talk anyone out of trying. Some homeowners genuinely enjoy the work and have the patience for the prep. But the honest math comes down to a handful of decisions:
- Cleaning. A garden hose or consumer washer rarely clears joints to clean sand — a pro uses a commercial-flow surface cleaner and chemically pre-treats stains.
- Joint sand. Big-box polymeric filled flush with the top is the classic DIY mistake; the right call is ASTM C144 in your chosen color, hydropacted, 1/8" below the chamfer.
- Sealer. A shelf acrylic in one heavy coat versus URE Seal H2O or Trident CAT5, two to three coats, mixed to spec.
- Masking. Skipped or partial masking leaves overspray on stucco and pool equipment; done right, skimmer covers, drains, plant beds, and adjacent surfaces are all masked first.
- Lifespan. DIY jobs often show visible failure inside a year and many need stripping after; a proper job locks in color, joints, and weed control for 3–5 years.
The math is honest: the cost of doing it wrong once — in failed material, ruined sand, possibly a full strip — usually wipes out whatever was saved by skipping the pro. And in this climate, doing it wrong is the default outcome, not the exception. If you're going to DIY anyway, over-invest in prep and use the right materials: real C144 sand, a real Florida-grade water-based sealer, a pressure washer that actually moves water, and the patience to walk away at the pre-seal walkthrough if it's not right yet.